GCP Integration
🔧 Step-by-Step GCP Setup
📥 Step 1: Download Script
Download the setup script:
👉 vamu-gcp-org-key-setup-script.sh
📝 Note: You must have the following roles on your GCP organization to run this script:
- Organization administrator
- Organization role administrator
- Project creator
- Service usage admin
- Service account key admin
🔗 Learn more about what this script does and the required permissions
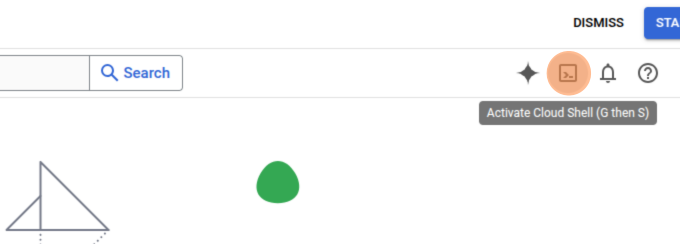
💻 Step 2: Launch GCP Cloud Shell
Go to the GCP Console and activate Cloud Shell
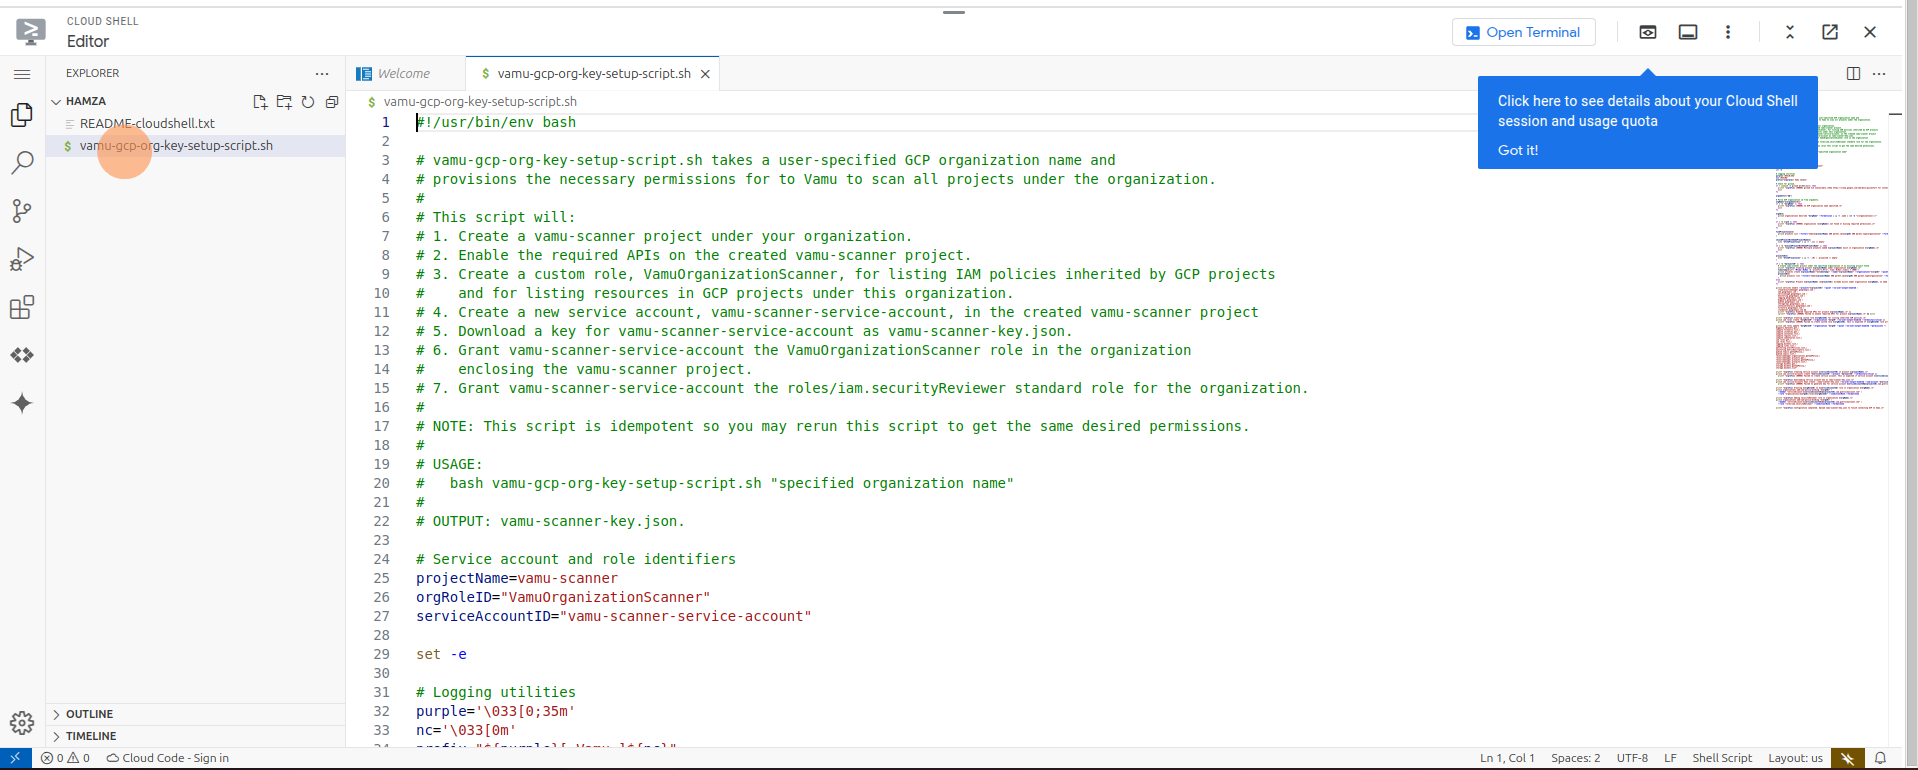
✏️ Step 3: Open Editor
Once the Cloud Shell is active, click Open Editor.

📂 Step 4: Upload the Script
Drag and drop the vamu-gcp-org-key-setup-script.sh file into the root folder of Cloud Shell.
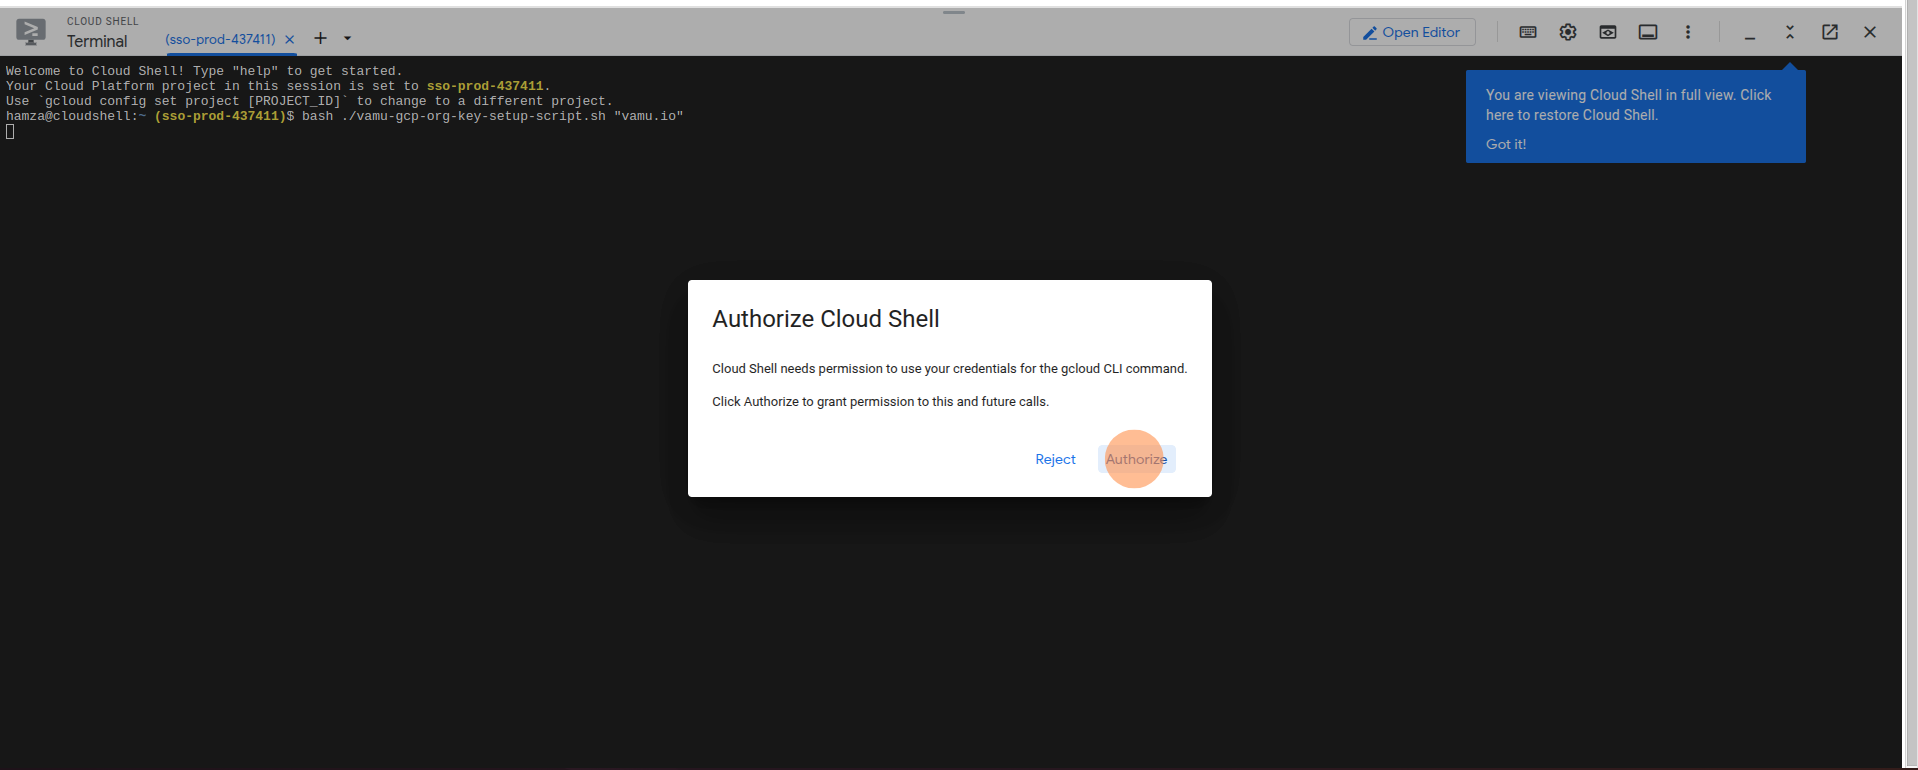
🧪 Step 5: Run the Script
Copy, paste, and run the following in the Cloud Shell terminal:
bash vamu-gcp-org-key-setup-script.sh "replace your domain here"
✅ Step 6: Authorize the Script
When prompted, click Authorize to allow execution.
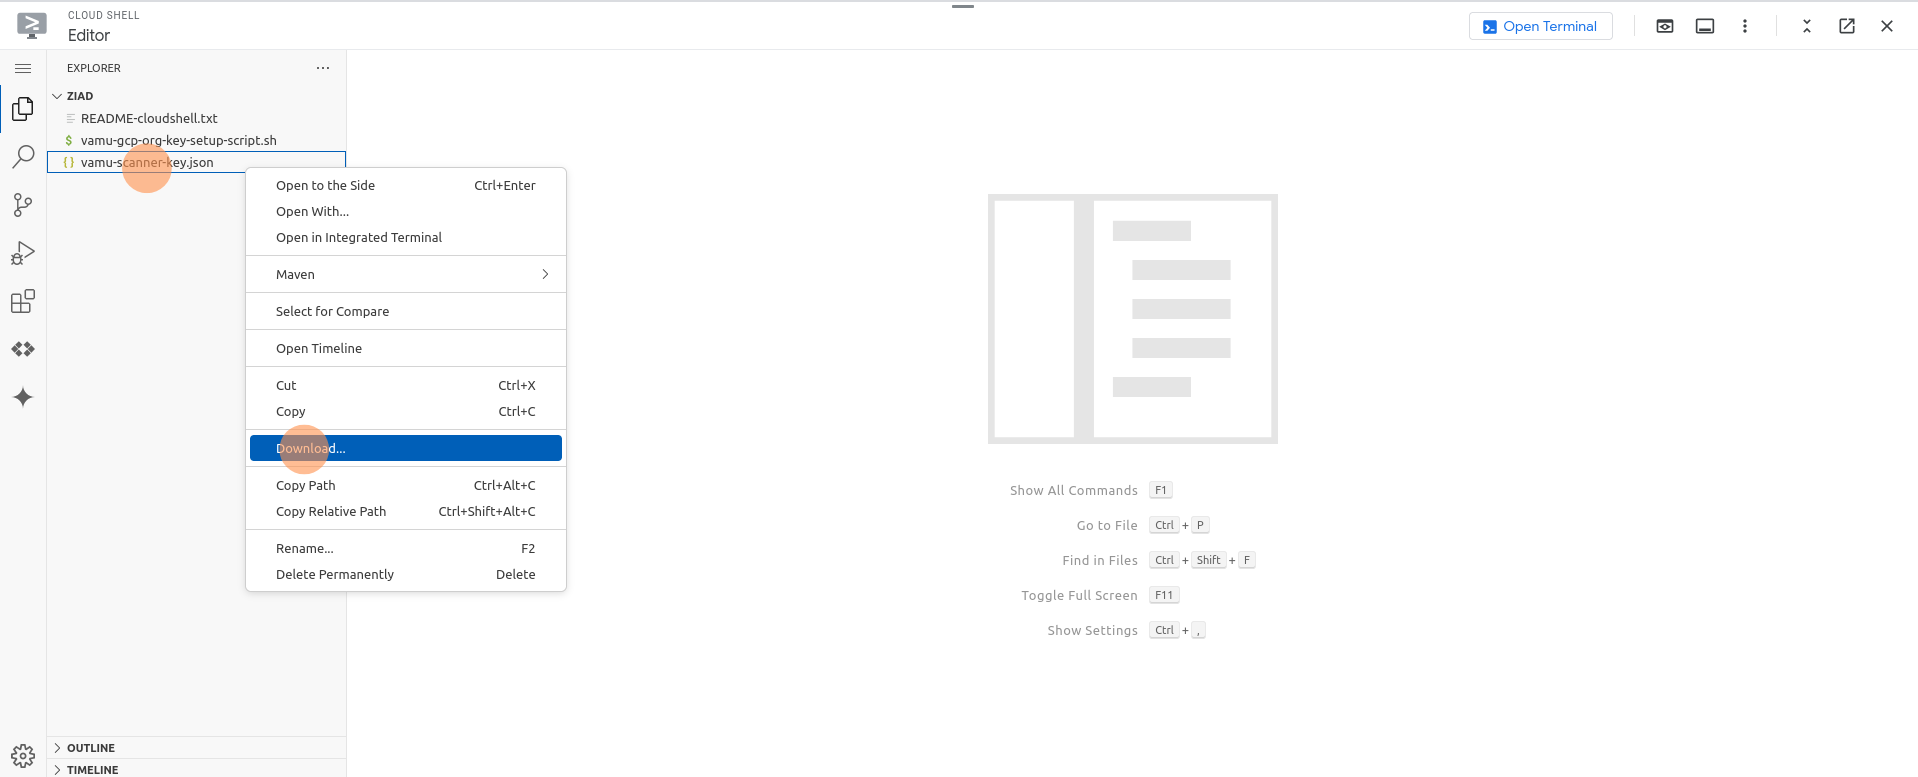
🔐 Step 7: Download the Generated Key
After the script finishes, return to Open Editor and download the generated vamu-scanner-key.json file.
✅ You're Done!
Your Vamu scanner key is ready for use. You can now connect your GCP cloud environment securely with Vamu.